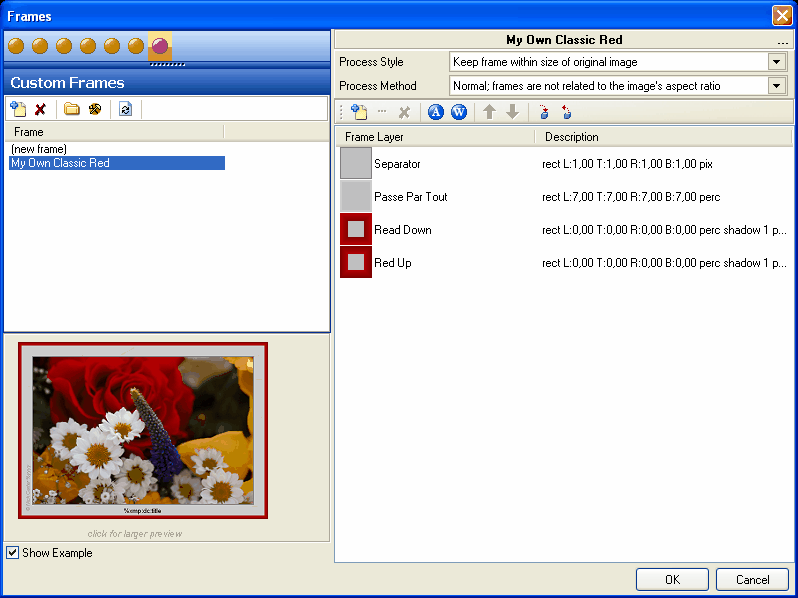
IDimager contains a full features framing feature. By opening the framer you see the frame categories and active frame at the left and the frame design for the selected frame.
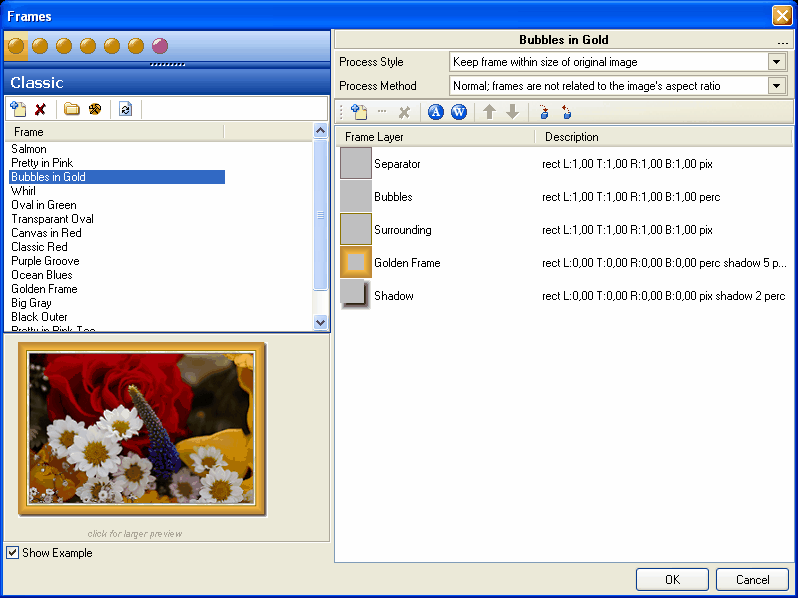
There are over 100 pre defined frames deployed with IDimager. A category can be selected by clicking any of the orange ball icons at the top. Each ball represents a category. The purple ball represents the "custom" category and that category is reserved for your own/personal frames.
To select a frame, choose the category and then select the frame. If you found a frame that pleases you, you can have a bigger preview by clicking the preview image in the lower left corner.
After selecting a frame, click OK to apply it to the image.
It is also possible to design you own frames.
Design your own frames
First select an existing category where you want to create a new frame in. There is also a category “Custom Frames” that is intended for your own frames. It is not required to use that category but recommended. After selecting the category, click the new button (![]() ) behind the Frame selector. A new and empty frame is created. As you can see the design at the right side is still empty.
) behind the Frame selector. A new and empty frame is created. As you can see the design at the right side is still empty.
The name of the frame can be changed by double clicking on the frame designer's caption title. Now set your preferences for the entire frame’s behavior:
Process Style |
Select whether the size of the framed result should be the same as the original image being framed or if the frame should be added to the original image. |
Process Method |
Here you can specify if the framed result should always keep the same aspect ratio of the original image or not. |
Inside the designer at the right; we can create a new layer for our frame by clicking on the ![]() button. A new layer is created. Double click on the layer to open the layer’s properties.
button. A new layer is created. Double click on the layer to open the layer’s properties.
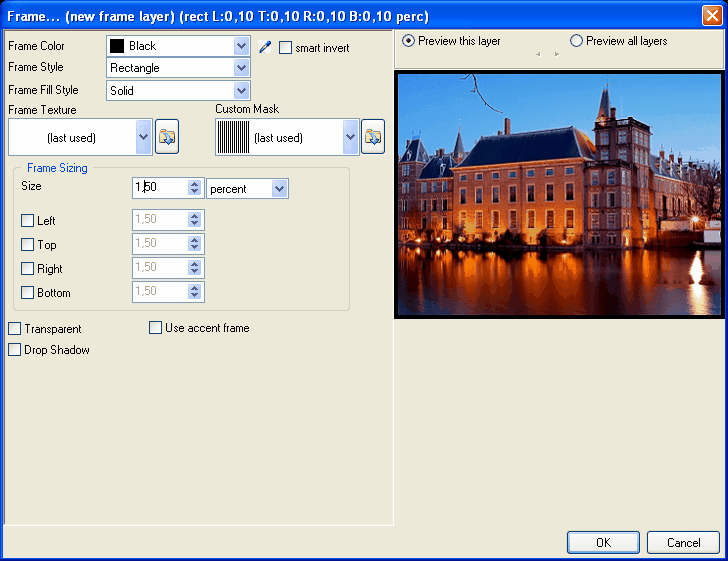
Frame Color |
Select the color for this frame layer. There is also a predefined color in the list called “Smart Color Selection”. If you set this color, the application will determine the color based on the overall appearance of the image being framed. |
|
Frame Style |
Select the shape of the frame. |
|
Rectangle
Rounded Rectangle
Square
Rounded Square
Circle
Ellipse
Red Mask
Masked |
Rectangular shaped frame
Rectangle with rounded corners
Square shaped frame, leaving only a square for the image
Square frame with rounded corners
A circular shaped frame, leaving only a circle for the image
An elliptical shaped frame, leaving only an ellipse for the image
A mask can be selected in the “Custom Mask” field. All reds in this mask will be replaced by the image being framed. This makes it ideal for sloppy shaped frames.
A mask can be selected in the “Custom Mask” field. This mask should be Black/White where all blacks will be replaced by the image being framed.
|
|
Frame Fill Style |
Select the fill style for the frame layer. |
|
Solid
Texture
Effect
Gradient |
The frame layer is filled with the frame color specified
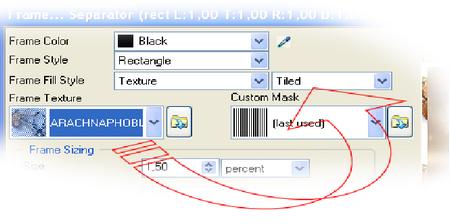
The frame layer is filled with a graphic that can be selected at the field “Frame Texture” (see below). Once you select this option, you can specify if the texture graphic should be titled over the frame or stretched to full size.
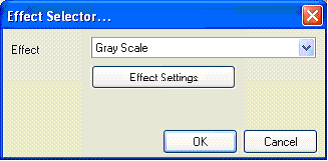
The frame layer will be filled with an effect which can be selected by pressing the “effect settings” button that appears once you select this fill style.
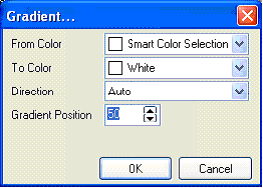
The frame layer will be filled with a gradient (from->to color). Customize the gradient setting by clicking the button that appears once you select this frame fill style.
|
|
Frame Texture |
Here you can select a texture or load a graphic from file that should be used as the texture graphic. It will only be used when you define your frame with a texture frame fill style.
Textures can be tiled or stretched or for the frame. Tiling means that the texture image is repeated to fill the entire frame. Stretched will stretch the texture image to the full size of the frame. It is recommended to use a high resolution texture image when using stretched method to reduce quality loss due to stretching.
|
|
Custom Mask |
Here you can select a mask or load a graphic from file that should be used as the texture graphic. It will only be used when you define your frame with a “Red Mask” or “Masked” frame style. |
|
Frame Sizing |
Define the size of your frame. Use either pixels or percentages. It is recommended to use percentages because that will create frames that will give the same results, no matter what the size of the image to frame is.
By checking the options for “left”, “top”, “right” and “bottom” you can define separate sizes for that area of the frame. |
|
Transparent |
Selecting this option will create a “see through” effect for the frame |
|
Use Accent Frame |
Select this option if you want to create an accent frame. An accent frame is a single frame layer that can be defined to be placed inside the frame. |
|
Drop shadow |
Select this option if you need a shadow effect for the frame. |
|
Click OK to apply the frame layer’s changes. You will return to the frame designer. Now name the layer by either clicking one on the name and wait a second or by pressing F2.
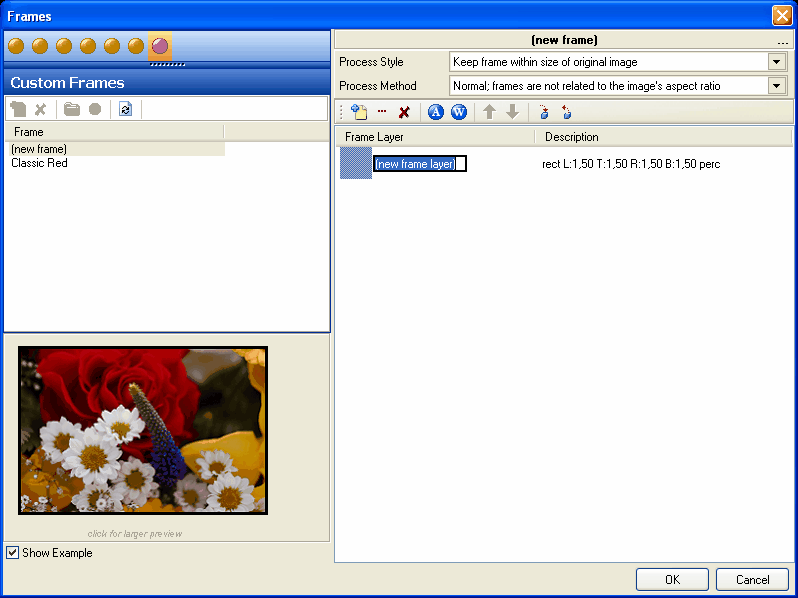
Then repeat this procedure for every layer you wish to apply. Let your creativity guide you.
If you need to name the entire frame, double click the frame title or click the “…” button in the far upper right hand side of the frame designer.
Once you are finished designing your frame you can apply it by clicking “OK”.
